Serving The Jacksonville Area



The “Green Crust” Audit: How to Check Your Shut-Off Valves in Jacksonville
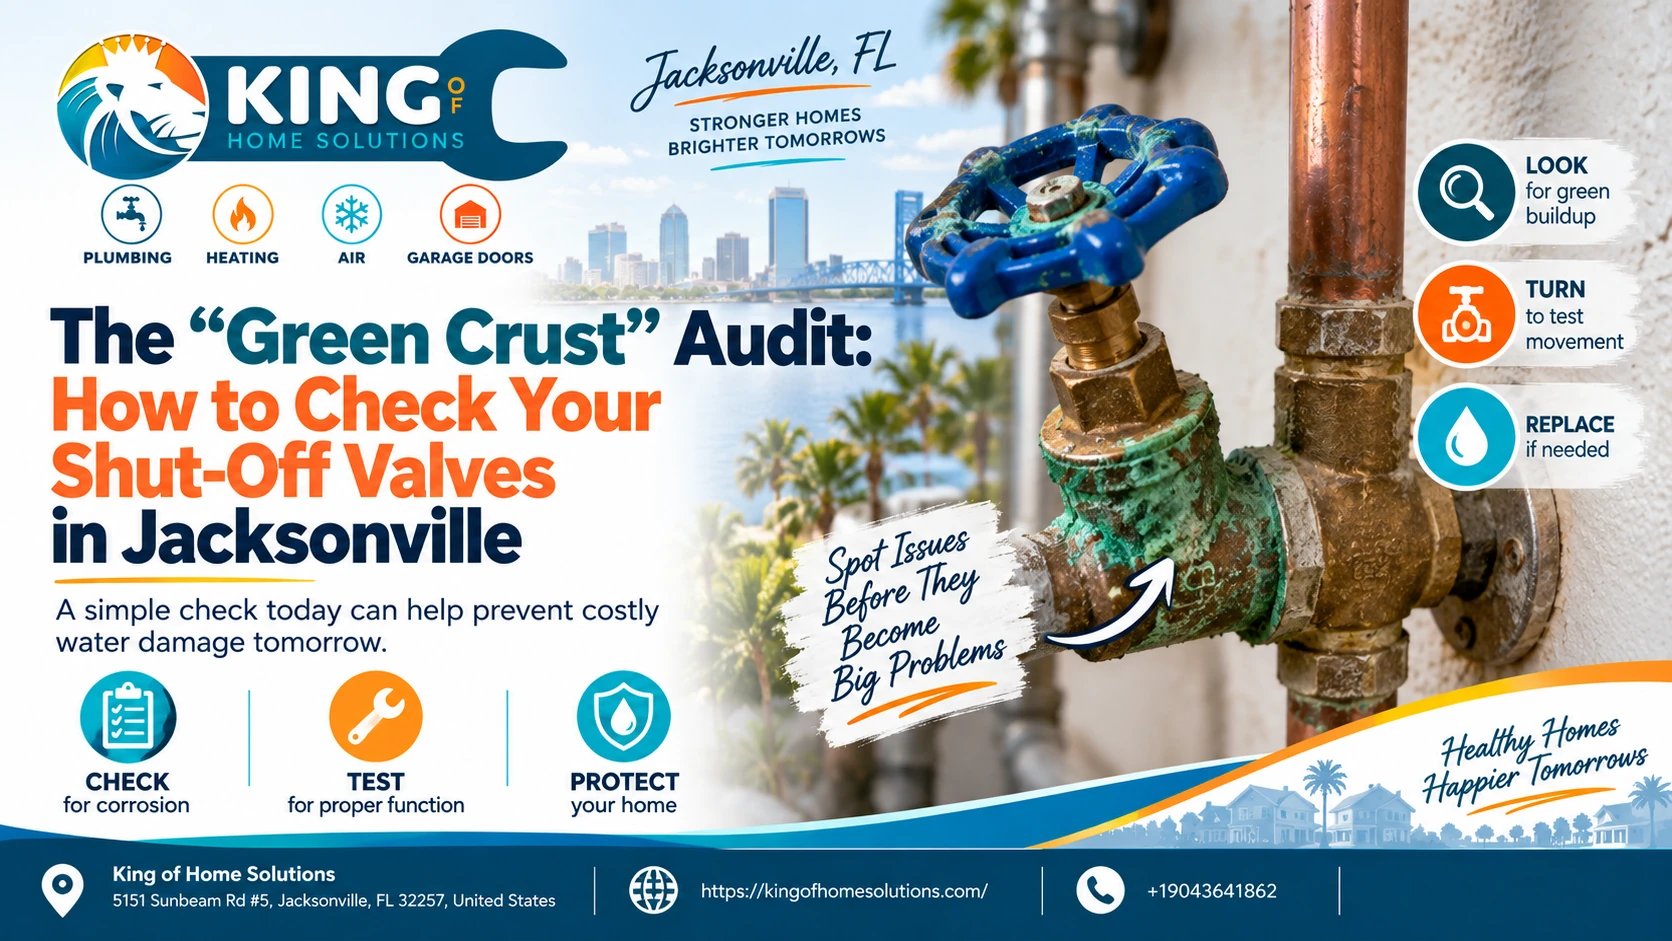
The “Green Crust” Audit: How to Check Your Shut-Off Valves in Jacksonville
Open the cabinet beneath your bathroom sink and look behind the cleaning supplies.
See that little valve coming out of the wall?
Now look closely.
Is there a patch of green or blue-green crust around the valve stem? White powder around the connection? Maybe a rusty screw, damp supply line, or dark stain running down the cabinet wall?
Most homeowners ignore these little shut-off valves until the day they desperately need one.
Then they discover the handle will not turn.
Or worse:
It turns and immediately starts leaking.
In Jacksonville homes, fixture shut-off valves deserve more attention than they usually receive. Our mineral-heavy water, humidity, aging copper and brass plumbing, and long service lives can all reveal themselves around these small fittings.
The good news is that you can perform a simple “Green Crust Audit” without dismantling any plumbing.
And the goal isn’t to make every old valve shiny again.
It’s to identify the valves that may fail before you’re standing in a flooded bathroom trying to figure out where the main water shutoff is.
First: What Is That Green Crust?
Green or blue-green material around copper and brass plumbing is generally associated with copper corrosion products.
The Copper Development Association notes that blue-green staining can result when copper from plumbing enters the water or forms corrosion products on copper surfaces.
That does not automatically mean your plumbing is suffering from mysterious “electrolysis.”
And it doesn’t automatically mean the valve needs emergency replacement.
Copper and brass can develop surface oxidation over time.
But when the green material is concentrated around a valve stem, compression nut, soldered connection, or supply-line fitting, it deserves a closer look.
Why?
Because a microscopic seep can evaporate almost as quickly as it leaks.
You may never see a drop hit the cabinet floor.
Instead, water repeatedly wets the metal, evaporates, and leaves corrosion products and mineral deposits behind.
That crust may be your evidence.
Jacksonville Hard Water Adds Another Layer
Not all crust is green.
Jacksonville homeowners commonly see white, chalky mineral buildup around faucets, valves, showerheads, and plumbing connections.
JEA’s current hardness data show why. Many Jacksonville ZIP codes receive water classified as very hard, with examples ranging from around 11 grains per gallon in 32210 to approximately 20 grains per gallon in areas such as 32216 and 32256. JEA says the hardness comes primarily from naturally occurring calcium and magnesium in the Floridan Aquifer.
White mineral scale is therefore not unusual.
But don’t confuse scale with harmless decoration.
If mineral deposits are heavily concentrated around one exact plumbing joint, they may be showing you where water has repeatedly escaped and evaporated.
A completely dry connection usually doesn’t build a thick little mineral stalactite by itself.
Start Your Audit Without Touching Anything
This is important.
When you find an old, heavily corroded valve, your first instinct may be:
“Let me turn it and see if it still works.”
Not yet.
A valve that hasn’t moved in 15 years can begin leaking from the stem packing when disturbed.
A brittle supply line can move with it.
A corroded compression connection can finally give up.
Before operating anything, inspect it.
For a Jacksonville house, I would check the following locations during one walkthrough:
- Every toilet shut-off valve
- Hot and cold valves beneath every sink
- Washing-machine valves and hoses
- Refrigerator/icemaker connection
- Dishwasher supply connection where accessible
- Water-heater shutoff
- Outdoor hose connections and exposed valves
- The home’s main shut-off valve
Use your phone flashlight.
Take a picture of anything suspicious before cleaning it.
You’re building a baseline.
The Paper-Towel Test
One of the simplest leak-detection tools costs almost nothing.
Dry the valve carefully with a paper towel.
Then press a clean, dry piece of tissue or toilet paper around the stem, nut, connection, and supply-line fitting.
Water that is nearly invisible on brass will immediately darken thin paper.
Check again after the fixture has been used.
For example, run the sink for a few minutes and inspect the valves again.
Flush the toilet several times before checking the toilet stop.
The reason is simple: plumbing can move slightly when water begins flowing, and some slow leaks become easier to identify under normal operating conditions.
If the valve stays completely dry, photograph it and move on.
If your tissue comes away wet, you have found something worth addressing.
Look Closely at Where the Crust Starts
The location of the buildup tells you more than the color.
Green buildup around the valve stem, directly behind the handle, may suggest seepage from the packing area.
Crust at the outlet connection may point toward the supply-line connection.
Deposits where the valve meets the pipe coming from the wall can indicate trouble at the compression joint, threaded fitting, solder joint, or valve body.
And corrosion directly on the flexible connector deserves attention too.
Don’t assume replacing the valve solves a failing supply hose.
The valve and connector are two separate potential leak points.
Should You Exercise the Valve?
If the valve is relatively clean, dry, accessible, and moves easily, periodically confirming that it operates can be useful.
Modern quarter-turn stops are particularly simple: a 90-degree movement controls the flow. Current BrassCraft quarter-turn residential stops, for example, are specifically designed to isolate individual fixtures without shutting down the entire house.
But there is a very different rule for a valve covered in heavy corrosion.
Do not force it.
If the handle will not move with reasonable pressure, stop.
If the stem begins twisting strangely, stop.
If the pipe behind the valve starts moving, definitely stop.
A seized $20 fixture valve can turn into an emergency plumbing call remarkably quickly when somebody attacks it with pliers.
This is especially true for older multi-turn stops.
The audit is supposed to find trouble not create it.

Quarter-Turn vs. Old Multi-Turn Valves
If you’re already replacing aging fixture stops, I generally prefer good-quality quarter-turn ball-style shutoffs.
Old-fashioned multi-turn valves rely on internal components that may deteriorate, stick, or fail to seal properly after years without operation.
Quarter-turn designs are easier for homeowners to understand:
Parallel/open.
Quarter-turn/closed.
That doesn’t make them immortal.
They can still leak, corrode, or fail.
But during a kitchen or bathroom renovation, replacing questionable old multi-turn stops while the plumbing is already accessible can be inexpensive insurance against future problems.
Your Main Shutoff Is the Most Important Valve in the House
The worst time to learn where your main water shutoff is located is while water is spraying across the kitchen.
Every adult in the home should know where it is.
JEA itself recommends using the home’s main shutoff when a cracked or burst customer-side pipe is suspected and says customers who cannot locate the valve can contact JEA for assistance.
JEA also defines the customer-side plumbing responsibility as beginning immediately after the water meter or point of delivery.
That distinction matters.
Know which valve belongs to your home’s plumbing system.
Don’t assume every valve inside the meter box is something you should operate with a wrench.
If you aren’t certain which shutoff is yours, have a plumber identify it before an emergency occurs.
When Green Crust Becomes a “Replace It” Signal
A tiny amount of dry surface discoloration on an otherwise solid, leak-free brass valve is very different from a fitting buried beneath thick green deposits.
I become much more concerned when you see several warning signs together:
Heavy crust.
Active moisture.
Visible pitting.
A valve that won’t operate.
A handle or stem that feels loose.
Corroded flexible supply lines.
Previous water staining beneath the fixture.
Multiple old valves showing the same deterioration.
At that point, cleaning the valve isn’t really maintenance.
It’s cosmetic.
Replacement allows the plumber to restore a reliable shutoff before another plumbing repair forces you to depend on it.
Don’t Aggressively Scrape Heavy Corrosion
This is another place homeowners can accidentally turn an inspection into a leak.
If a fitting is heavily crusted, don’t attack it with a screwdriver or wire brush just to see what’s underneath.
Severe corrosion may be sitting on already-thinned metal.
The deposit might also be covering the location of a tiny seep.
Removing it aggressively can expose the weak spot.
Photograph it.
Check for moisture.
Then let the plumber decide how far to disturb it.
Check Your Supply Lines at the Same Time
A perfect shut-off valve won’t save the house if the flexible line attached to it bursts.
While you’re beneath each sink and toilet, inspect the connector.
Look for fraying, rust, discoloration, kinks, bulges, cracked outer material, and fittings that appear heavily corroded.
Washing-machine hoses deserve particular attention because they remain pressurized for long periods and can release a significant amount of water if they fail.
If you’re replacing old valves, that is often a sensible time to evaluate aging supply connectors as well.
Your Annual Jacksonville “Green Crust Audit”
You don’t need to inspect plumbing every weekend.
Make it an annual home-maintenance ritual.
Under every sink.
Behind every toilet.
Laundry room.
Water heater.
Main shutoff.
Take photos of questionable fittings so you can compare them next year.
If the green patch doubles in size, that is useful information.
If the cabinet suddenly develops staining, that’s useful too.
And if every valve remains bone dry?
Excellent.
That’s exactly what you’re hoping to discover.
The Bottom Line
Green crust isn’t a diagnosis.
It’s a clue.
Sometimes it is ordinary surface oxidation.
Sometimes white buildup is simply Jacksonville’s hard-water minerals.
But concentrated green or mineral deposits around a valve connection can also be the residue left behind by a slow leak that has been evaporating unnoticed for months.
The smartest approach is not:
“See green, panic and replace the whole plumbing system.”
It’s:
Inspect it. Dry it. Check it for moisture. Determine where the buildup originates. Confirm the valve is serviceable only when it is safe to do so.
And make sure you know where the main water shutoff is before you need it.
Because those little valves beneath your sinks aren’t decorative plumbing hardware.
They are your first line of defense when something starts leaking and the worst time to discover one doesn’t work is after the water is already on the floor.